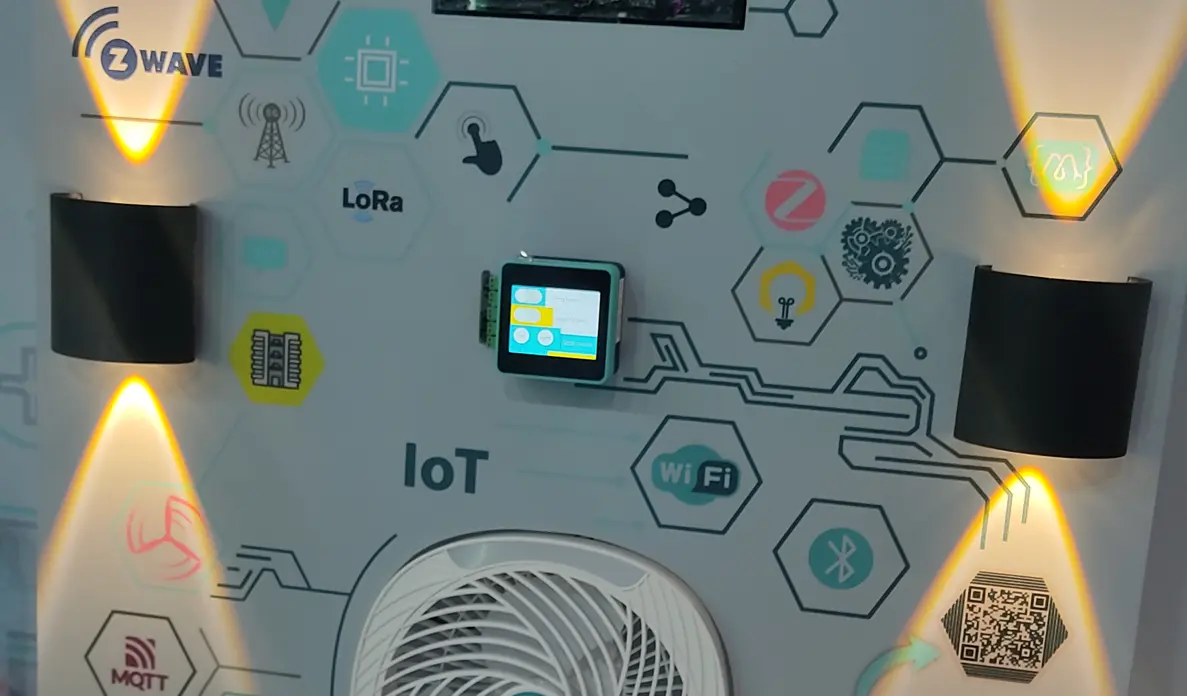
Starting your journey into smart technology requires the right tools and guidance. An IoT starter kit gives you the hardware and software needed to build connected devices. You will learn how to gather data, control sensors, and write code to make physical objects interact with the internet.
This guide provides practical IoT starter kit tips to help you launch your first project successfully, whether you’re aiming for global innovation, international collaboration, or simply reaching learners worldwide. We will explore how to choose the right hardware, write your first lines of code, and troubleshoot common issues. You will walk away with a clear roadmap for your connected device journey.
Here are your key takeaways:
- How to select the best IoT developer starter kit for your skill level.
- An IoT learning roadmap step by step process for beginners.
- The best practices for managing sensors and microcontrollers.
- Exciting IoT project ideas using starter kits for homes and classrooms.
What is an Internet of Things Starter Kit?
An Internet of Things starter kit is a bundled package of electronic components designed for learning and prototyping. These kits typically include a microcontroller (like an Arduino or ESP32), various sensors, breadboards, jumper wires, and sometimes cloud platform access. They remove the guesswork of buying individual parts so you can focus entirely on learning.
Using a dedicated kit is the fastest way to understand connected technology. A beginner guide to IoT development kits usually starts with blinking an LED before moving to complex Wi-Fi integrations. Having everything in one box ensures all your components are compatible right out of the gate.
Key components usually found in these kits include:
- Microcontrollers: The brain of your project (e.g., ESP32, Raspberry Pi Pico).
- Sensors: Devices that read environmental data like temperature, light, or motion.
- Actuators: Components that perform actions, such as motors, relays, or LEDs.
- Connectivity modules: Built-in Wi-Fi or Bluetooth chips to connect to the cloud.
Your IoT Learning Roadmap Step by Step Process for Beginners
Getting started with IoT projects requires a structured approach to avoid feeling overwhelmed. Start by understanding basic electronics, move on to writing simple scripts, and finally connect your device to a cloud service. Following a logical sequence builds your confidence and ensures you understand the underlying concepts.
1. Choose the Right IoT Starter Kit for Beginners
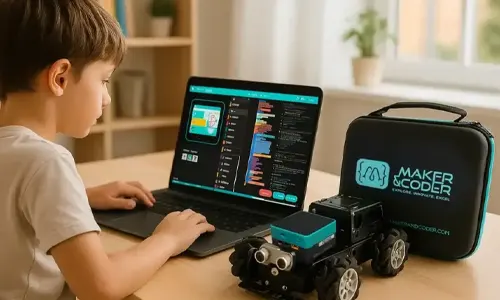
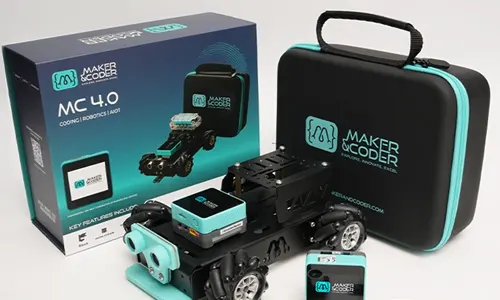
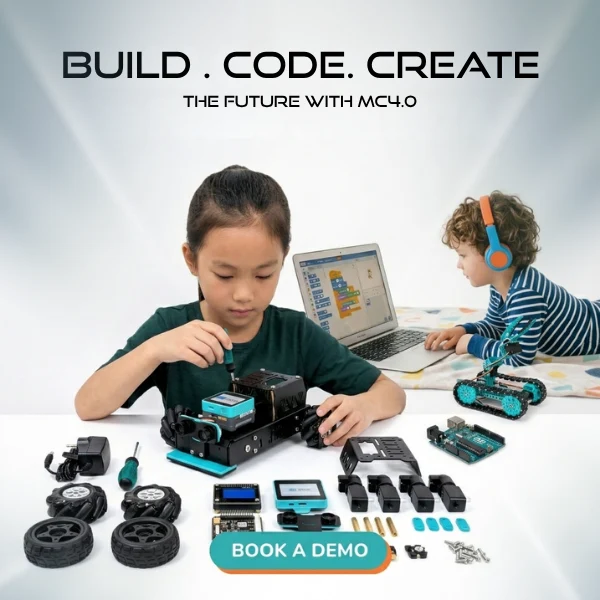
Your first step is selecting a kit that matches your current knowledge and future goals. Look for a kit that offers a good balance of sensors, clear documentation, and a supportive online community. The Maker and Coder AIoT Kit is a prime example of hardware designed specifically for education and easy scaling.
Consider what you want to build before making a purchase. If you want to build weather stations, ensure your kit has temperature and humidity sensors. If robotics is your goal, look for motor drivers and distance sensors in your IoT developer starter kit.
2. Learning IoT with Sensors and Microcontrollers
Understanding how your hardware reads the physical world is crucial. Sensors collect data from the environment, and the microcontroller processes that data to make decisions. You must learn how to wire these components correctly on a breadboard to prevent short circuits.
Read the data sheets for your specific components. Knowing the operating voltage of a sensor prevents you from accidentally burning it out. Always double-check your wiring against project diagrams before powering up your board.
3. Master IoT Coding for Beginners
Hardware does nothing without software to tell it what to do. Python and C++ are the most common languages for programming microcontrollers and managing data. You will use these languages to tell your board how often to read a sensor and where to send that information.
Platforms like MCLab allow you to start with block-based coding before transitioning to script-based languages. This makes IoT coding for beginners highly accessible. You can drag and drop logic blocks to understand the flow before writing complex syntax.
4. Connect to Cloud Services
The “internet” part of IoT requires sending your local data to a remote server. Cloud platforms like AWS IoT or custom dashboards allow you to store, analyze, and visualize your sensor data. This is where your simple electronic circuit becomes a globally accessible smart device.
Start with free, beginner-friendly dashboards like ThingSpeak or Blynk. These platforms let you create visual charts of your data with minimal setup. Once comfortable, you can explore enterprise-level cloud computing.
Top Tips for Using IoT Starter Kits Effectively
Building connected devices involves trial and error. The best tips for using IoT starter kits focus on planning, secure setups, and methodical troubleshooting. Adopting these habits early will save you hours of frustration when your code fails to compile or your board refuses to connect to Wi-Fi.
Set Clear Project Goals
Always define what success looks like before you connect a single wire. Knowing exactly what your device should do helps you select the right components and write efficient code. A vague goal leads to feature creep and unfinished projects.
Write down a single sentence describing your project’s function. For example: “I want a device that texts me when the soil in my plant pot gets too dry.” This keeps you focused on specific IoT starter kit tips related to moisture sensors and SMS APIs.
Start Small Before Scaling Up
Never try to build a complex system on your first day. Begin by mastering one component at a time, such as making an LED blink or reading a single temperature value. Once that works flawlessly, you can add Wi-Fi connectivity or a second sensor.
If you jump straight into a multi-sensor cloud project, debugging becomes a nightmare. Isolating components helps you understand exactly how they behave. This is one of the most vital IoT tips for students learning in a lab environment.
Implement Best Practices for IoT Starter Kits
Security and maintenance are often overlooked by beginners. Always change default passwords on your connected devices and keep your microcontroller firmware updated. An unsecured IoT device is a major vulnerability on your local network.
Follow these best practices for IoT starter kits:
- Use secure networks: Never connect your development board to public, unsecured Wi-Fi.
- Encrypt your data: Use HTTPS protocols when sending sensor data to the cloud.
- Document your work: Take photos of your breadboard wiring and comment your code thoroughly.
Best IoT Project Ideas Using Starter Kits
Applying your skills to real-world problems makes learning fun. The best projects solve small, daily annoyances while teaching you new hardware and software concepts. We recommend starting with environmental monitoring or simple automation tasks.
IoT Starter Kit Projects for Students
Students thrive when they can see physical results from their code. Beginner projects should focus on immediate feedback, like smart lighting systems or basic alarm systems. These builds teach the core loop of sensing data, processing it, and triggering an action.
Great IoT project ideas using starter kits include:
- Smart Thermostat: Read room temperature and turn on a small fan when it gets too hot.
- Intruder Alarm: Use a motion sensor to trigger a buzzer and send an email alert.
- Plant Monitor: Measure soil moisture and display a happy or sad face on an LCD screen.
IoT Starter Kit Classroom Projects
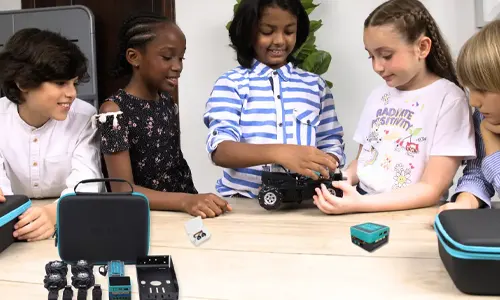
Teachers need projects that engage multiple students simultaneously. IoT starter kit classroom projects should encourage teamwork, data sharing, and modular building. Kits can be divided so that one group handles the hardware while another writes the cloud dashboard code.
A popular classroom activity is building a distributed weather station. Each student programs a board to collect different data (light, heat, humidity) and sends it to a shared class dashboard. This demonstrates how massive sensor networks operate in the real world.
How to Use an IoT Starter Kit for Beginners: Troubleshooting
Things will go wrong, and that is part of the learning process. When your project fails, check your power supply, verify your wiring, and read your code’s error logs. Methodical troubleshooting is the most valuable skill an IoT developer can possess.
If your board will not connect to Wi-Fi, ensure you are using a 2.4GHz network, as many microcontrollers do not support 5GHz. If a sensor reads completely random numbers, check your ground wire connection. How to use an IoT starter kit for beginners is largely about learning how to fix these small, common mistakes.
Utilize Simulation Tools First
You do not always have to risk your physical hardware. Use digital simulation platforms like Wokwi or TinkerCAD to test your circuits and code virtually. This allows you to spot short circuits or logical coding errors before plugging anything into the wall.
Simulators are especially useful for IoT starter kit classroom projects. Students can complete their homework and test their logic at home, even if they left their physical kit in the school lab.
Conclusion
Mastering connected technology opens doors to endless creative possibilities on a global scale. By choosing the right hardware, following a structured learning roadmap, and applying these IoT starter kit tips, you can build impressive smart devices that are relevant in international markets and used by makers worldwide. The key is to start small, document your progress, and stay curious.
Are you ready to build your first smart project? Grab an Internet of Things starter kit, review the basic coding principles, and start experimenting with sensors today. Join online communities to share your progress and learn from fellow makers.
Frequently Asked Questions (FAQ)
What is an IoT starter kit?
An IoT starter kit is a bundle of electronic hardware and software tools. It includes microcontrollers, sensors, and cables designed to help beginners learn how to build internet-connected smart devices.
How do I choose the best IoT starter kit for beginners?
Look for kits with clear documentation, a variety of sensors, and Wi-Fi capabilities. Boards like the ESP32 or Raspberry Pi Pico are excellent for beginners due to their massive online support communities.
What coding language should I learn for an IoT developer starter kit?
Python and C++ are the best languages for IoT development. MicroPython is highly recommended for beginners because its syntax is easy to read, while C++ offers deep control over the hardware.
What are some good IoT starter kit projects for students?
Great beginner projects include automated plant watering systems, smart room thermometers, and motion-activated security alarms. These projects provide clear, physical results that keep students engaged.
Why is it important to learn IoT with sensors and microcontrollers?
Sensors and microcontrollers form the physical foundation of all smart technology. Understanding them allows you to bridge the gap between digital software and the physical environment.
Author Bio
Maker and Coder
Maker and Coder is a premier educational platform dedicated to empowering the next generation of innovators on a global scale. Specializing in robotics, AI, and STEAM education, Maker and Coder provides high-quality IoT development kits, curriculum resources, and interactive learning labs for international audiences. Our mission is to transform complex technical concepts into accessible, hands-on learning experiences for students and educators worldwide.